
At times, the best solution for damaged and chipped veneer is complete replacement. Veneer panels can lose their grip with time’s exposure to the elements, and as veneer begins to peel away, more and more veneer is chipped from the panel.
If you think your veneer is salvageable, here’s a guide to repairing veneer with paint and a video demonstrating how to replace chipped veneer.
If it’s time for replacement, I’ll be discussing today how to find the right veneer, how to glue the veneer, and how to make sure your veneer replacement lasts.
STEP 1: Surface Preparation
Typically, under your old veneer, you’ll find a thin piece of plywood. I like to leave this plywood in place if possible. But before applying wood glue, I sand the plywood with 80 grit paper and make sure it’s smooth and level.
If you’ve sanded through your veneer and you’re replacing it, (I’ve done it before too, and it’s fixable. Here’s video proof.), then you can just sand the previous veneer down until it’s level enough, and then apply your new veneer over it.
The main goal is preventing in inconsistent, unlevel (is that a word?) areas. Make the surface consistent.
STEP 2: Find the Right Veneer Replacement
If you’re unsure which wood you’re looking for, take a look through VeneerSupplies.com for your wood. They’ve got everything. And it’s relatively affordable. I find myself working mostly on midcentury modern furniture, thus the veneer I need is often walnut or teak.
If you’ve got a woodworking store near you, see if they carry veneer. Most do. Go to the store and look for matching veneer near the color of your piece’s veneer. Just because it’s walnut veneer, and your piece is walnut veneer, doesn’t mean the walnut will be the same color. Try to match as closely as you can. This will save you time.
STEP 3: Cut the new veneer panel
Take your measurements, then add an inch to the length and width. You want some wiggle room.
After I have the measurements, I trace with pencil the correct size, then with a straight-edge I lightly slice the veneer in low-pressure cuts with a razor blade. Or you can take extra precautions and do it right. With a veneer saw. With caution, a razor blade should suffice.
STEP 4: Do a dry run
Preparation matters here. Once the glue is applied, you have one shot to do this right.
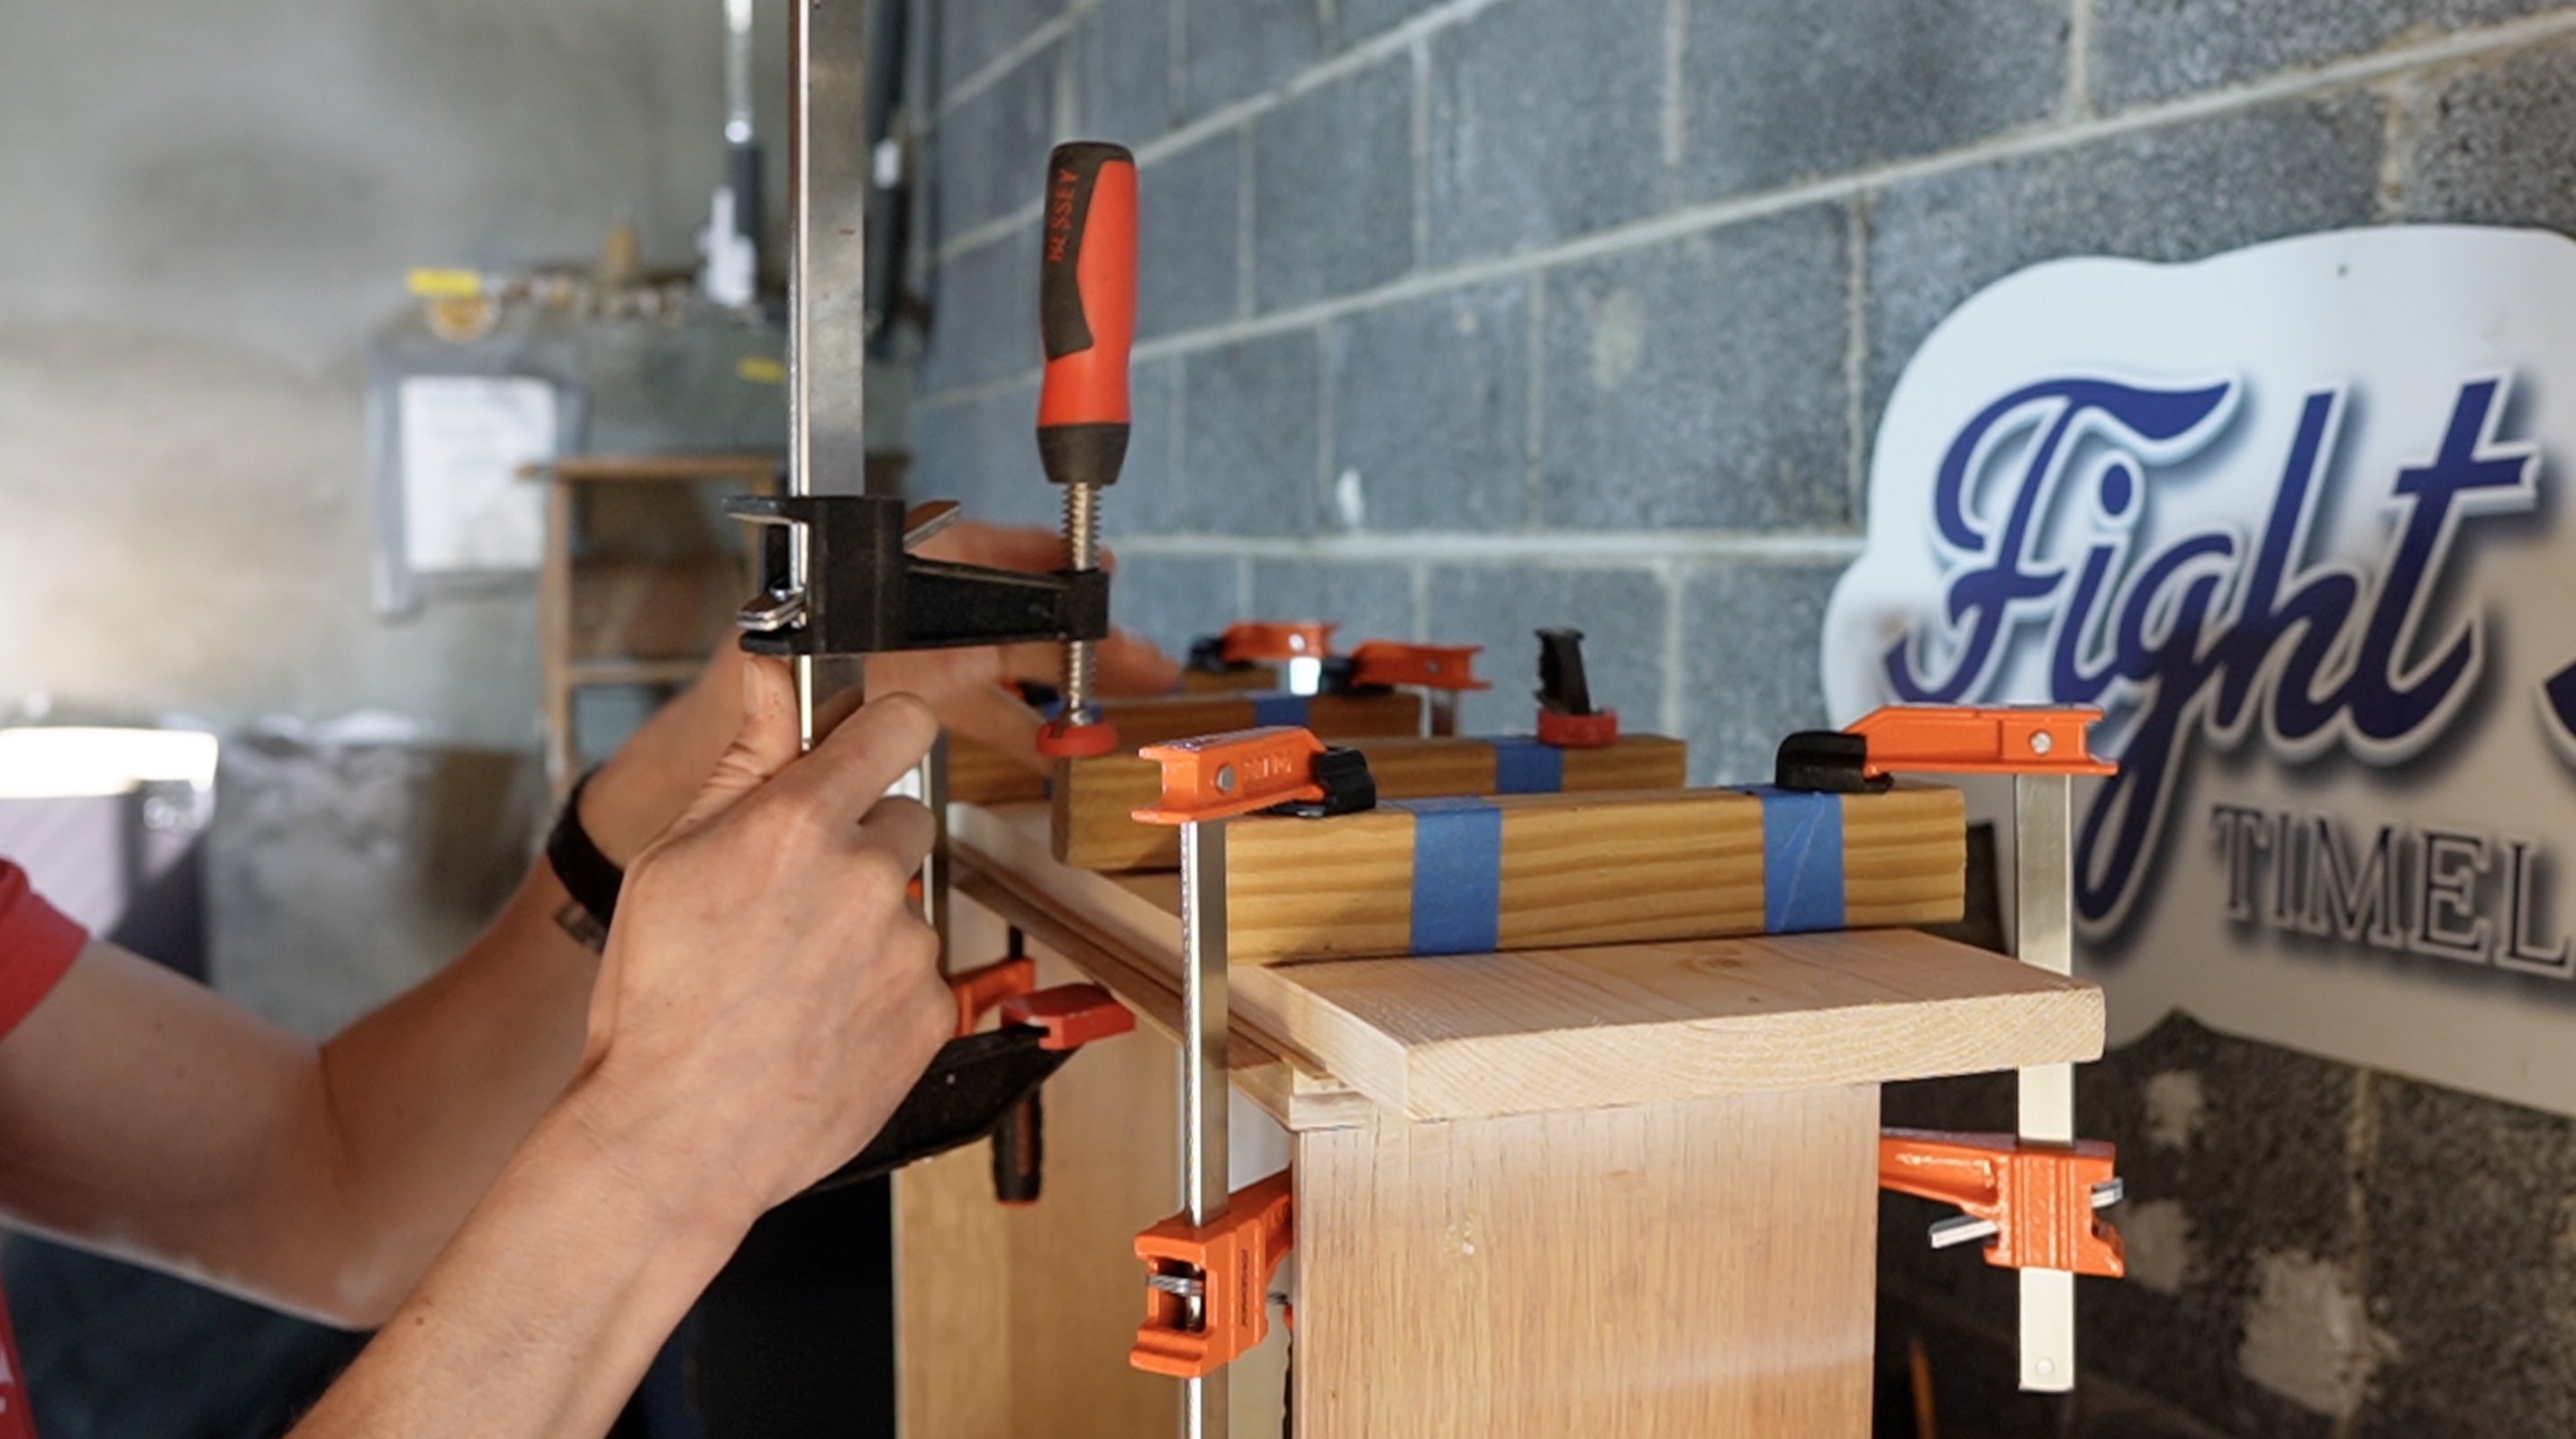
I’d recommend watching this short portion of a recent project of mine to see what you’ll need. This is the classic, woodworking-style method. Again, I’d just watch the video, but in summary, you roll on regular wood glue, then clamp the new veneer panel between your furniture and a wood board. Then, leave it for 24 hours.
Or, you can buy veneer glue and roll the surface, apply the veneer, then it’ll stick almost immediately. VeneerSupplies.com has a starter kit for this specific method.
Both means work. Both have pros and cons.
STEP 5: Plane the veneer
If you’ve got some veneer overhanging the edges, you’ll need to plane it off carefully. You can do this with a razor blade (not recommended, but indeed possible) or with an edge planer.
This video shows how I plane the veneer of a recent project with a razor blade.
And that’s a wrap! Replacing veneer can be daunting. But with a good plan and a few basic woodworking supplies, it’s doable. Just be patient and give yourself time to figure out the steps and acquire what you need.
(Some of the links above are affiliate links. If you purchase products through these links, I receive a small commission in return without any increase in price for you. If you’d like to see my full workshop list of supplies and equipment, here’s the link.)
Leave a Reply