
Drawer runners are an essential part of your dresser’s functionality, helping the drawers glide in and out smoothly. Over time, these runners can wear out due to heavy use, causing your drawers to stick or become difficult to open.
(Side note: the best solution is often prevention. Over loading of drawers with too many items or clothes RAPIDLY ACCELERATES damage to drawer runners and it’s often the cause of separation at the dovetails.)
Many dressers suffer a premature death because of drawer dysfunction. This is a crime! In many cases, a simple repair can restore the drawer’s functionality without the need to get a new dresser.
In this post, I’ll walk you through the process of replacing a worn-out drawer runner on your dresser, whether you plan to do it yourself or hire a professional furniture repair service.
(What is a drawer runner exactly? It’s the bottom portion of the drawer AND where it meets the inside of the dresser. It’s BOTH areas.)
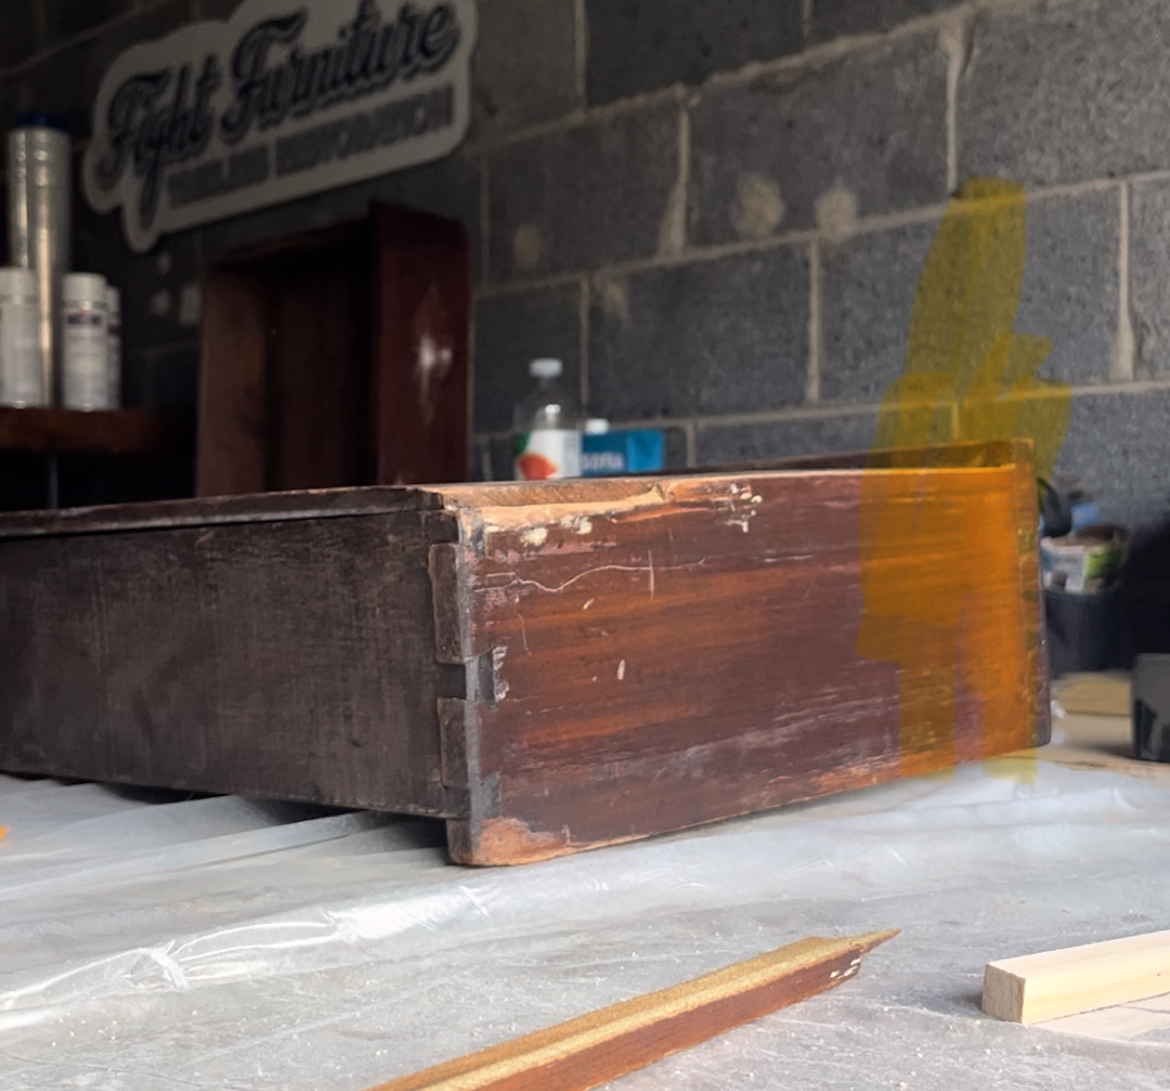
1. Assess the Damage
Before you begin the repair, it’s important to identify the problem. If the drawer is difficult to open or close, check the drawer runners to see if they’re damaged, bent, or worn down. Sometimes, the issue may not be with the runner itself but with the hardware that connects the runner to the drawer or the dresser frame. If the runner is still functional but a little worn, you might only need to replace the roller or track mechanism rather than the entire runner.
2. Gather Tools and Materials
To replace the drawer runner, you’ll need a few basic tools and materials:
- Replacement drawer runner (make sure it matches the size and type of the original)
- Screwdriver (Phillips or flathead, depending on your screws)
- Measuring tape
- Wood glue (optional, for securing any loose parts)
- Wood screws (if the old ones are worn or stripped)
- Safety goggles and gloves (to protect yourself during the repair)
If you’re unsure about the type of runner needed, many hardware stores offer a variety of options, or you can consult a professional furniture repair expert for advice.
3. Remove the Drawer
Start by removing the drawer from the dresser. Pull the drawer out completely, and depending on the design of your dresser, you may need to remove screws or brackets holding the drawer in place. If the drawer runners are secured by screws, use your screwdriver to carefully unscrew them. Set the drawer aside and ensure it is placed on a soft surface to prevent damage.
4. Remove the Worn-Out Drawer Runner
Once the drawer is out, you can begin removing the worn-out runner. In most cases, the runner will be attached to the sides of the drawer or the interior of the dresser. Use your screwdriver to remove the screws that hold the runner in place. If the runner is glued on, you may need to gently pry it off using a flathead screwdriver or putty knife.
Be careful not to damage the surrounding wood. If you’re dealing with an old dresser or antique piece, it might be worth consulting a professional furniture repair service to avoid inadvertently causing more harm.
5. Install the New Drawer Runner
Now it’s time to install the new runner. Start by lining up the new runner with the screw holes of the old one. Ensure that the runner is flush with the side of the drawer and properly aligned with the track or roller mechanism. If you’re replacing both the track and the roller, make sure they fit securely together.
Once the new runner is in place, use screws to secure it to the drawer. If necessary, you can use a small amount of wood glue to strengthen the bond, but ensure that you allow the glue to dry before proceeding.
6. Reattach the Drawer to the Dresser
After the new runner is installed, slide the drawer back into the dresser and check its alignment. Ensure that the drawer moves smoothly and that the runner fits securely into place. If the drawer is still sticking or wobbling, you may need to adjust the alignment slightly or check for any other issues with the dresser’s internal structure.
If the runner is wood, you can always rub a layer of furniture was on both parts of the runner to allow for a more smooth pull. Additionally, if you’d like to prevent further deterioration of an all-wood runner, you can coat the wood runner with shellac. I have found this step to be very helpful!
7. Test the Drawer
Finally, test the drawer several times to ensure that it opens and closes easily. If it’s still not functioning properly, check for any remaining obstacles or damaged components. Sometimes, a professional furniture repair service may be needed to fix more complex issues, such as structural damage to the dresser or a misaligned track system.
Conclusion
Replacing a worn-out drawer runner is a straightforward process that can extend the life of your dresser and restore its functionality. Whether you tackle the repair yourself or enlist the help of a professional furniture repair service, the key is to assess the damage carefully, use the right materials, and ensure that the new runner is installed correctly. With a little time and effort, your drawers will be sliding smoothly again in no time!
If you’re ever unsure or need assistance, we offer professional furniture repair... and you guessed it, drawer runner replacements!
(Looking for my supplies or equipment? Check out my full workshop here.)
Leave a Reply